Romeo & Juliet – Stafford Castle
I was asked to Sound Design Romeo & Juliet at Stafford Castle for The Gatehouse Theatre’s 30th Year of producing a Shakespear play at the Castle. I’l take you through some of the design decisions in this post and give you an insight into the system setup and some of the challenges we faced. This was also my first ever Shakespear!
Directed by Tim Ford
Set & Costume Design: Morgan Brind
Lighting Design: Matt Clutterham
Sound Design: James Cook
Choreographer: Verity Bray
Fight Director: Ian Stapleton
Production Pics – Pamela Raith
[foogallery id=”1140″]
Setting the Scene
To begin with, we are making this show to be performed outside, come rain or baking sun, on the side of a hill in Stafford. Many of the things we take for granted inside a building such as a quiet space, no wind, a blackout simply by not turning any lights on, were simply not possible. Microphones had to be used for the actors; a single gust of wind will blow someones voice away, no matter how loudly they are projecting their voice. So with the elements outside and super wide playing space we needed to enable the audience to follow the story and therefore mic everyone.
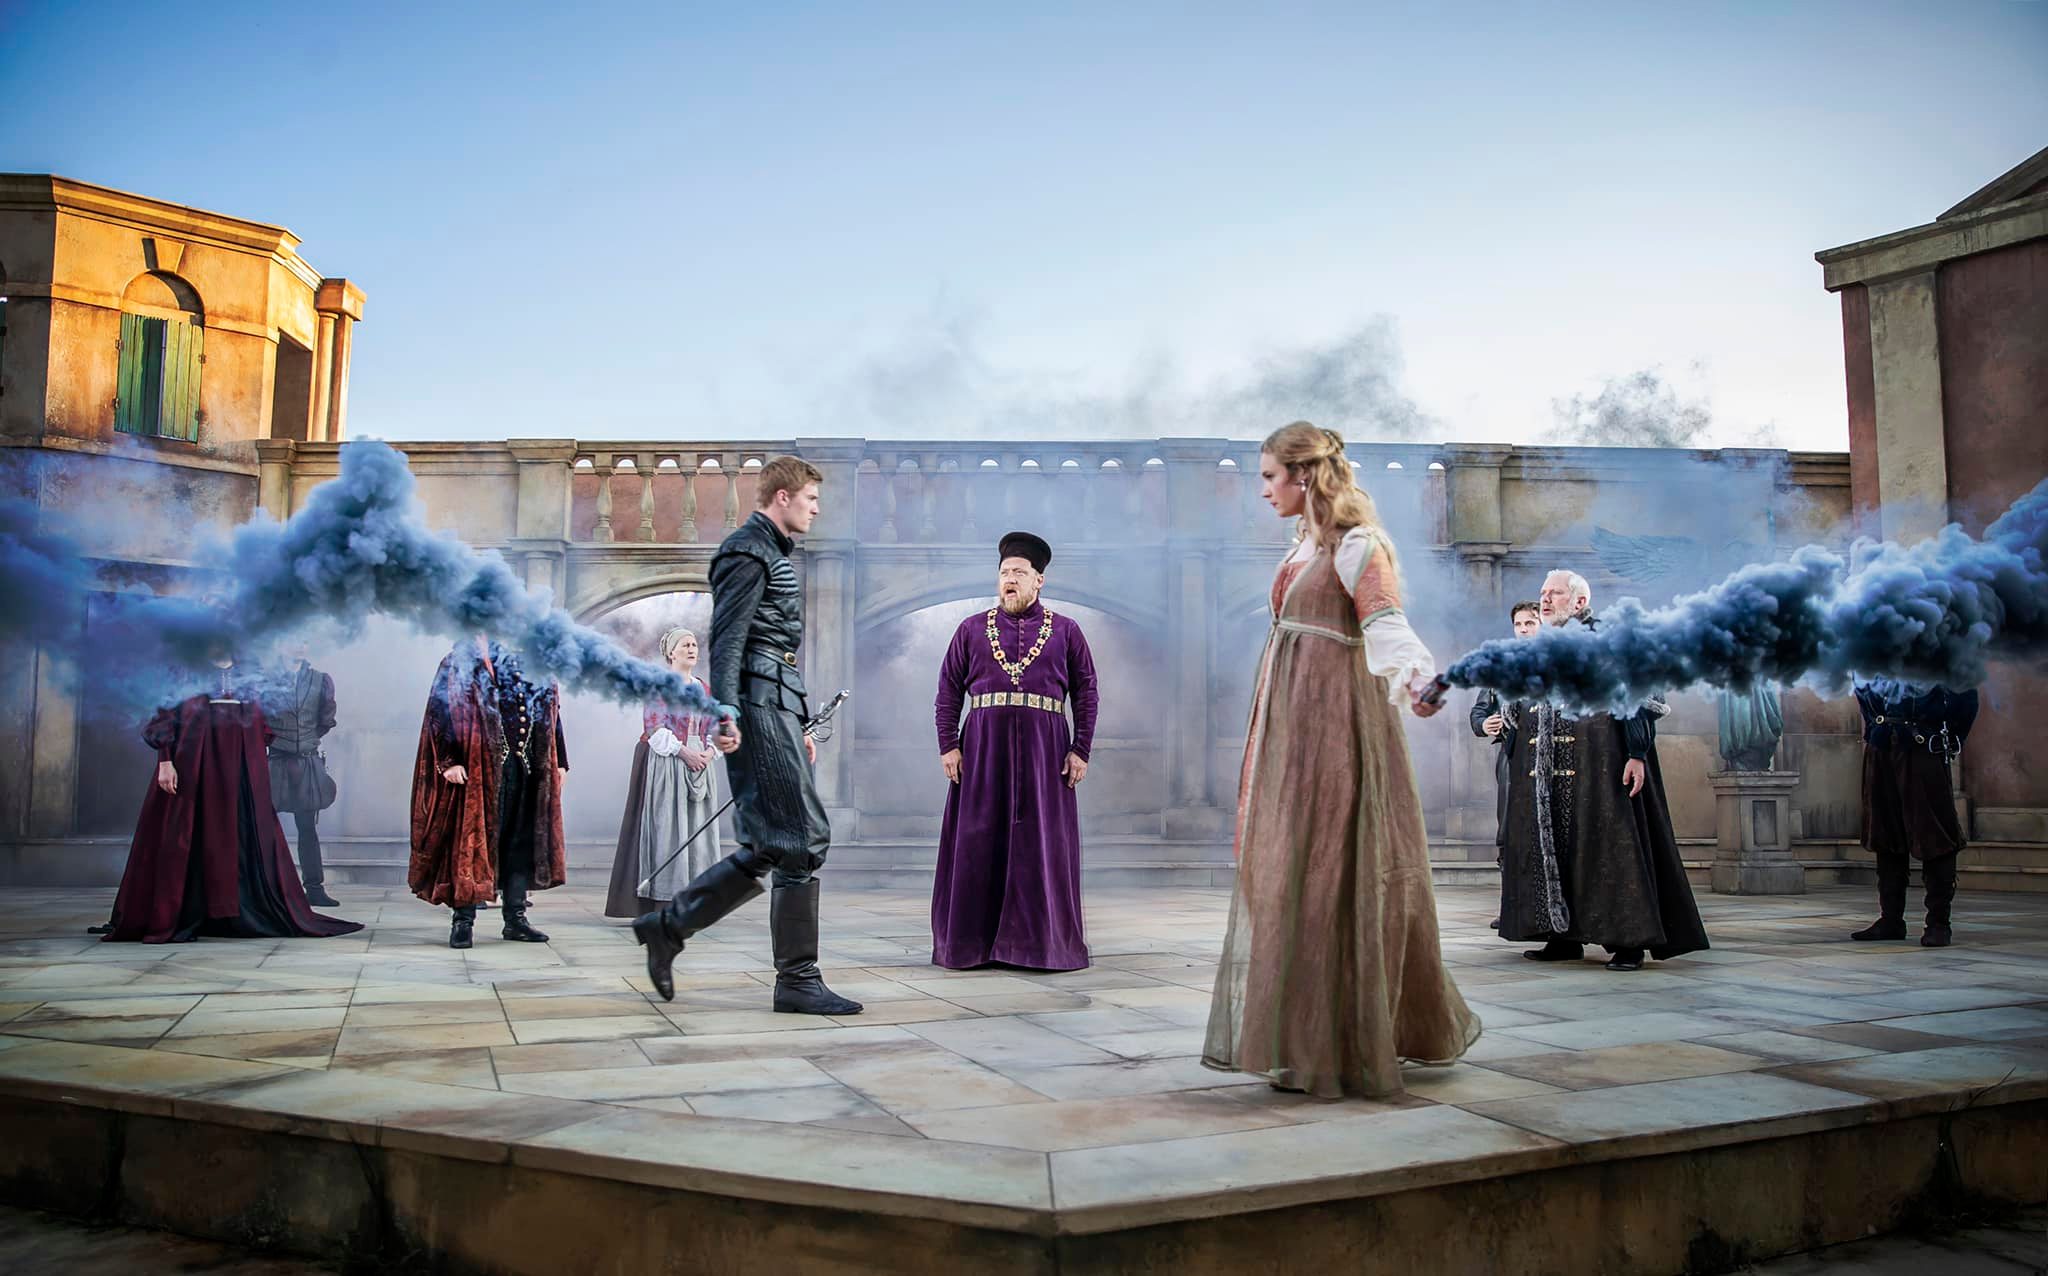
Morgan Brind, the set & costume designer, created a beautiful set that transported us to fair Verona. Here is a modelbox pic..

As I mentioned before, the set is quite wide. That’s roughly 20m from SR to SL. Most procenium arch theatres are roughly 10m wide, with an audience sitting mostly face on. You’l notice the auience are split at an angle. The following pic will show how the audience areas fitted in with the set.

Positioning the Sound
The width of the stage and the fact that an actor could be a variable distance between 20m and 40m away from an audience member meant something clever was needed if I was going to make the diologue sound as natural as possible. In a traditional theatre, you might see a LCR system where a center speaker or cluster is used with front fills to ‘pull the image’ down to where the actor is standing – to almost disquise the fact they are mic’d and amplified. I don’t know if you noticed, but I didn’t really have a center speaker here as every seat has a different center!
There are some great products on the market such as d&b Soundscape and Timax that use object based mixing to position the sound on the stage. Unfortunately we couldn’t afford a system like that, and had to use alot of kit from the theatre’s own stock. So I came up with my own version, and created a number of zones across the stage that I could assign actors to. By using a Delay Matrix in a Yamaha MRX7D, I was able to then delay each speaker’s signal to these zones across the stage. The result, was a head-turning natural sound that really did make it sound like the person on SR was talking on SR, and the person on SL was really talking on SL. Sometimes people walk around (how dare they!), so a compromise had to be made and a central zone was used. I think the most obvious use for this was Juliet upstairs on the balcony with Romeo downstairs – the separation this gave the two of them really stood out.
Hiding the speakers

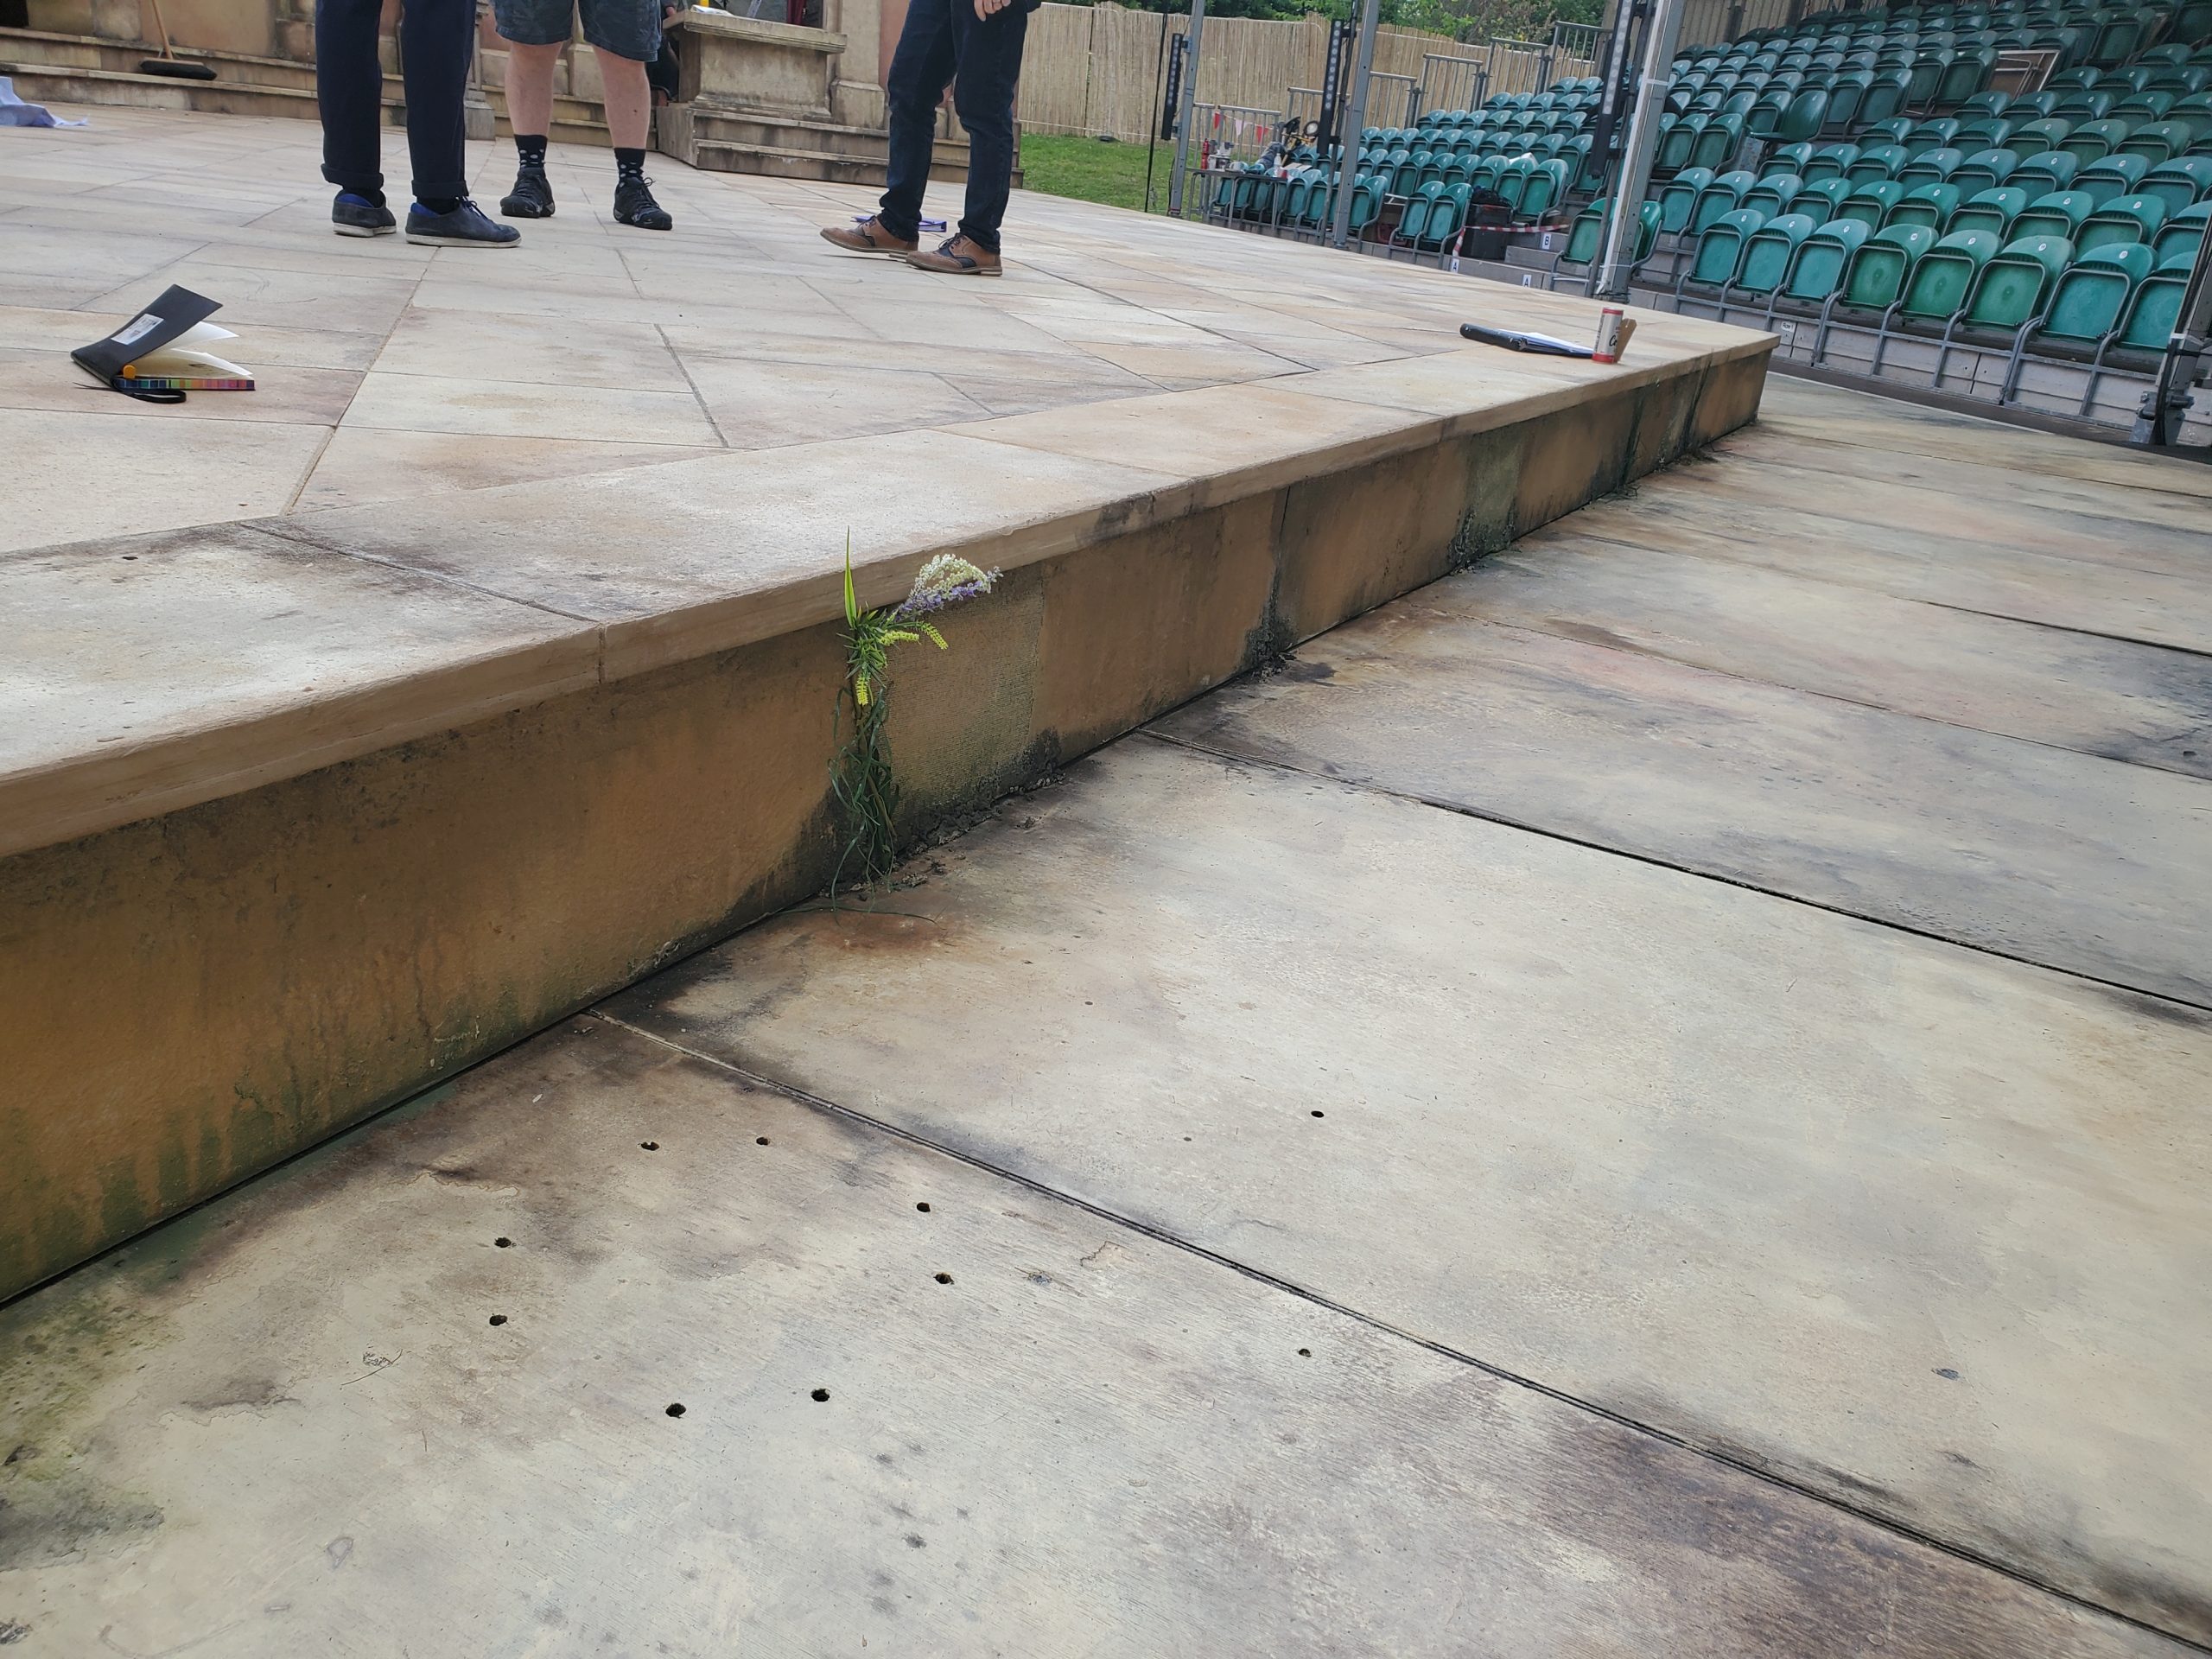
At the end of the day, the audience is sitting in a metal grand stand, watching through the side of the opening, so some allowances have to be made for seeing some speakers and lighting fixtures. Howver, what you might not have noticed from the previous pictures are the 10 front fills hiden behind a gauze under the stage. All with individual amps, these were fed from the Delay Matrix too, enabeling the positioning of the sound to take place. Here’s a pic close up..
Adding Instruments and SFX
Instruments were mostly played from the tower USR – mainly becase of the shelter from the elements. But there were some wireless instruments which were played elsewhere. One option would have been to treat these as objects like the actors microphones and position them around, however I decided to create another system on-top of the Delay Matrix that was effectively 5.1 surround sound for each stand. Instruments were then sent to this system and that enabled some subtle panning for separation, along with some fun reverb settings for the surround speakers. This simplified it somewhat when creating the mix for the music, but still enabled some interestingness to the design. It also meant that whatever I mixed in one audience stand, was going to be the same in the other.
Schematic Sneak Peak
Here’s a quick screenshot of some of the paperwork generated to give you an idea of the system.


